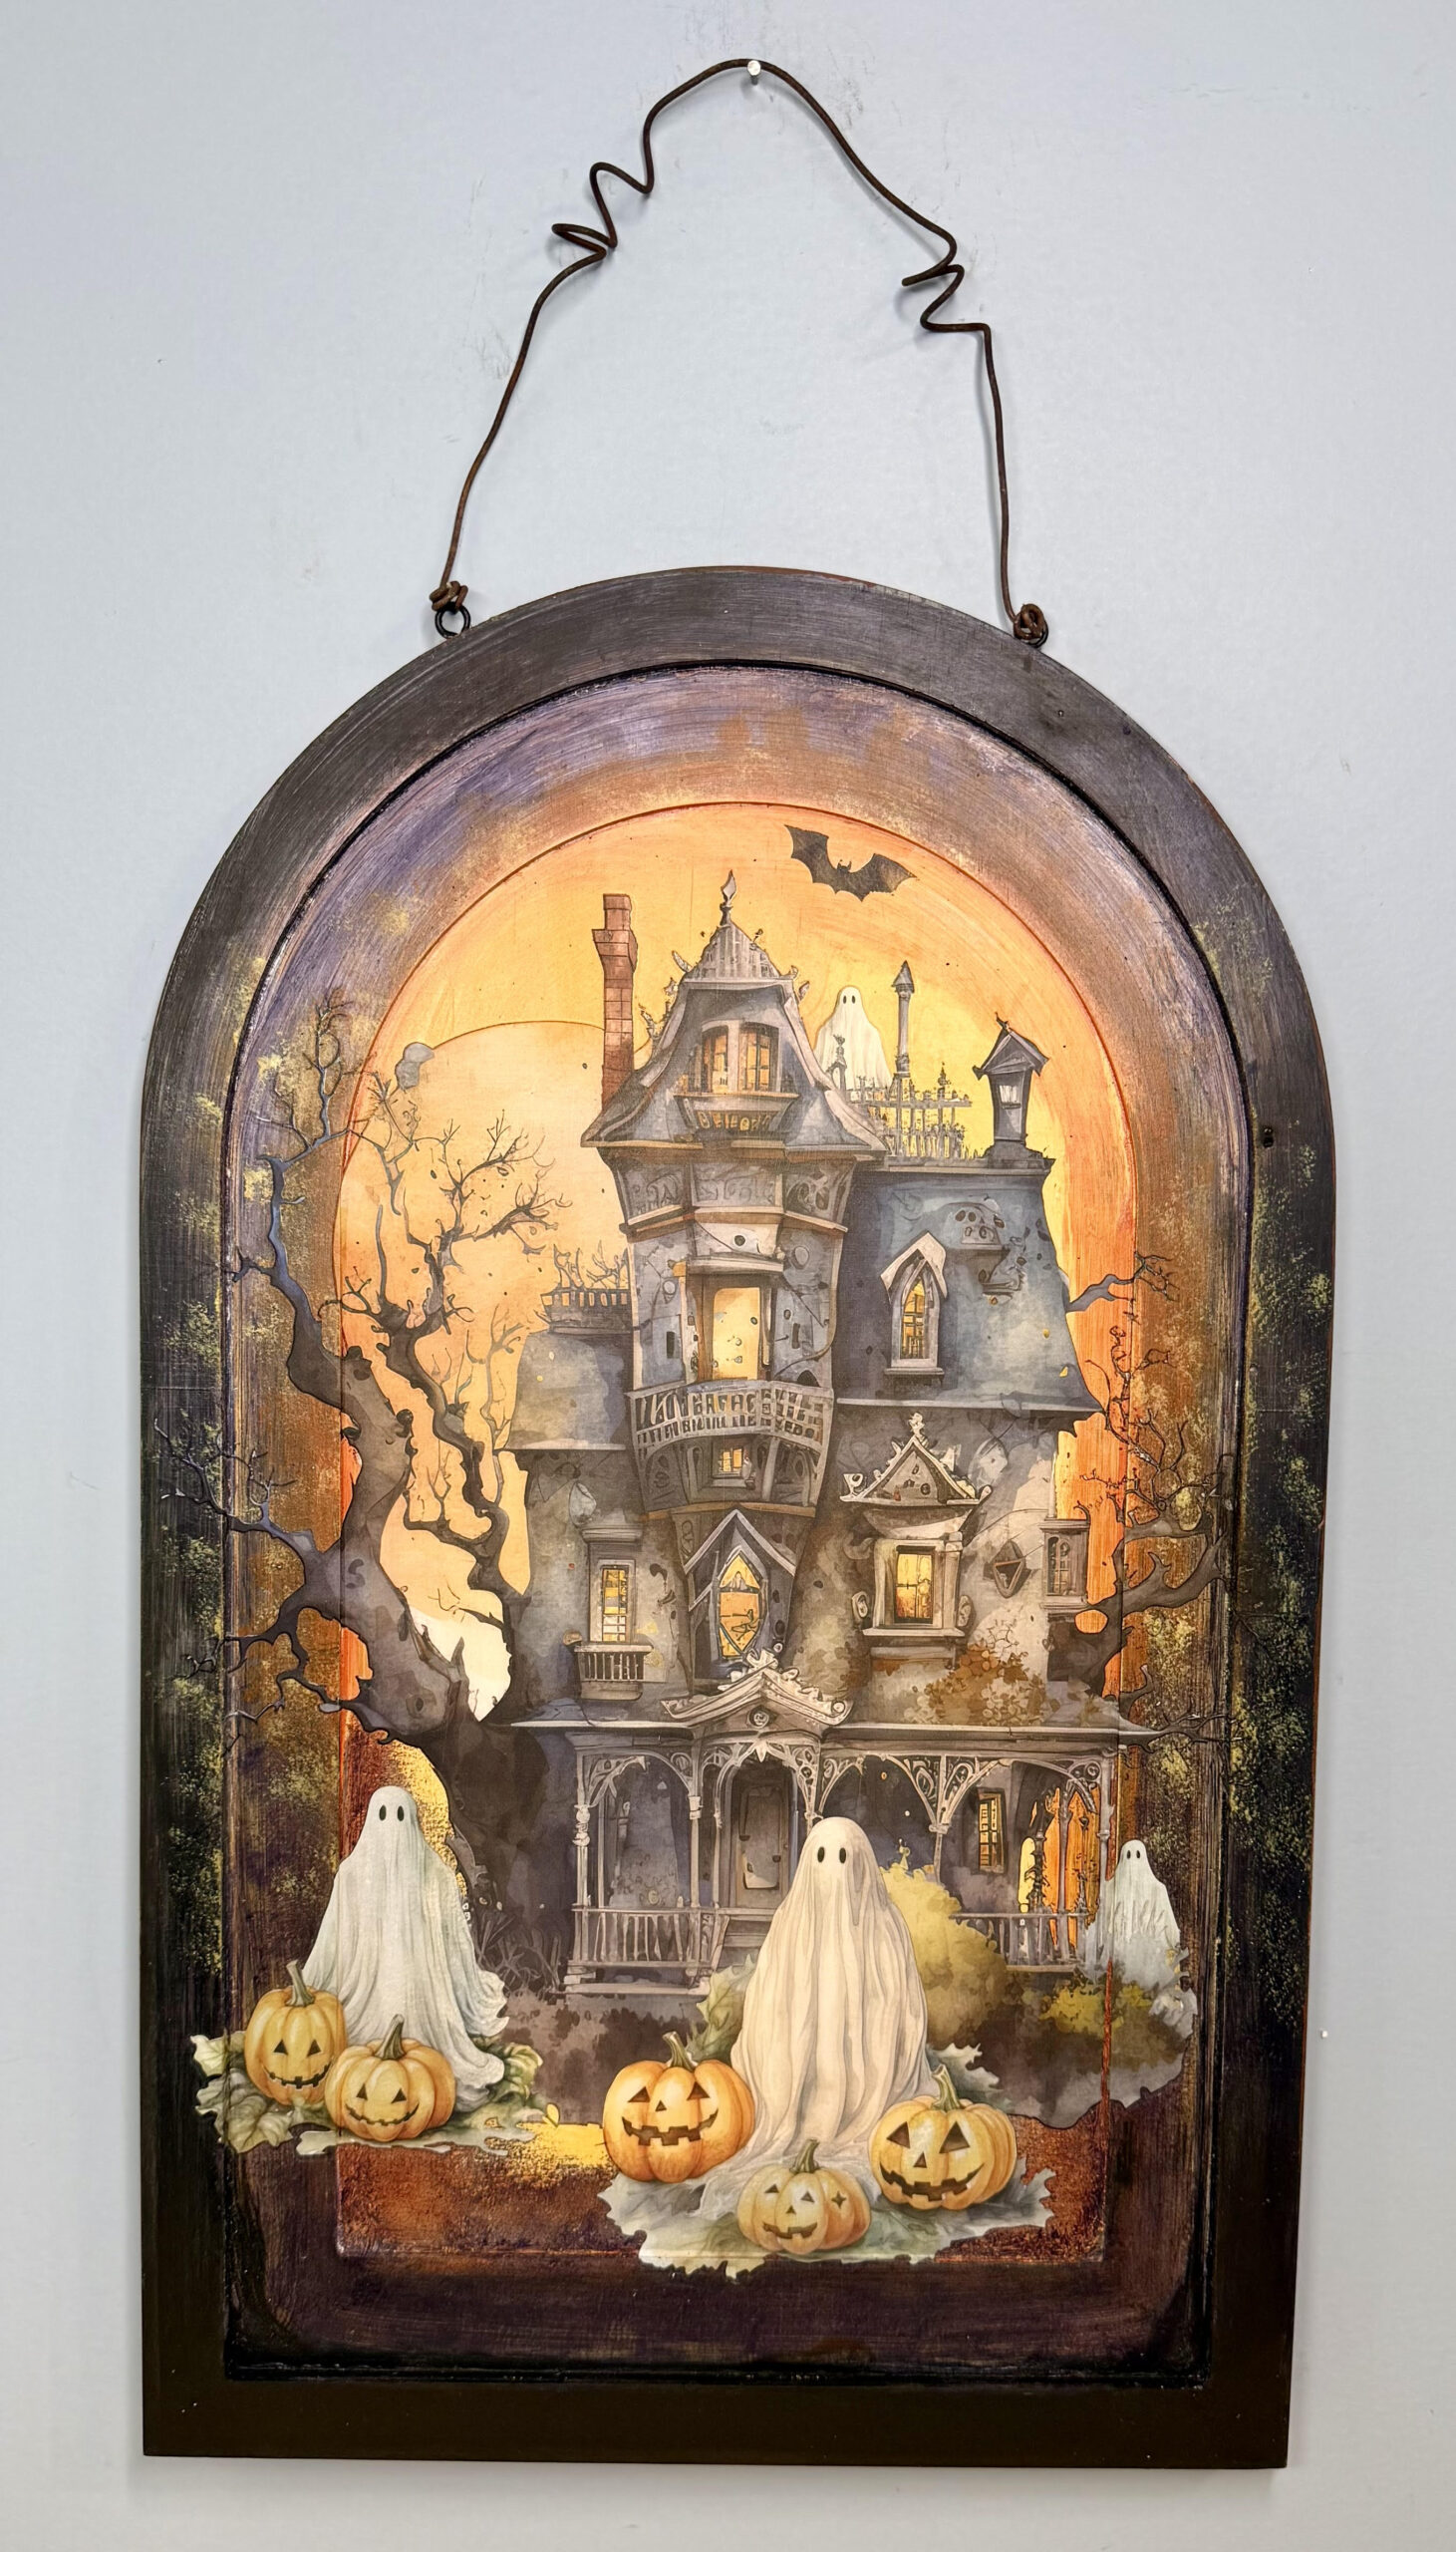
DIY Haunted House and Whimsical Ghost Halloween Arch (Double Sided Sign)
I don’t decorate a lot for Halloween anymore now that my kids are grown, but I still enjoy creating fun seasonal pieces that are more whimsical than spooky. This haunted house arch turned out to be one of those projects that reminds me how much I enjoy building colorful backgrounds and watching everything come together layer by layer.
Supplies Used
- Michaels 18″ x 11¼” Wooden Arch
- Minwax Water-Based Wood Stain – White
- Minwax Water-Based Wood Stain – Wild Honey
- Minwax Water-Based Wood Stain – Fiesta Orange
- Minwax Water-Based Wood Stain – Violet
- Minwax Water-Based Wood Stain – Black
- Essential Stencil Haunted House Transfer
- Essential Stencil Spider Web Stencil (optional)
- Blending sponges
- Mister bottle
- Sanding sponge
- Burnishing tools
- Heat tool
- Paper towels
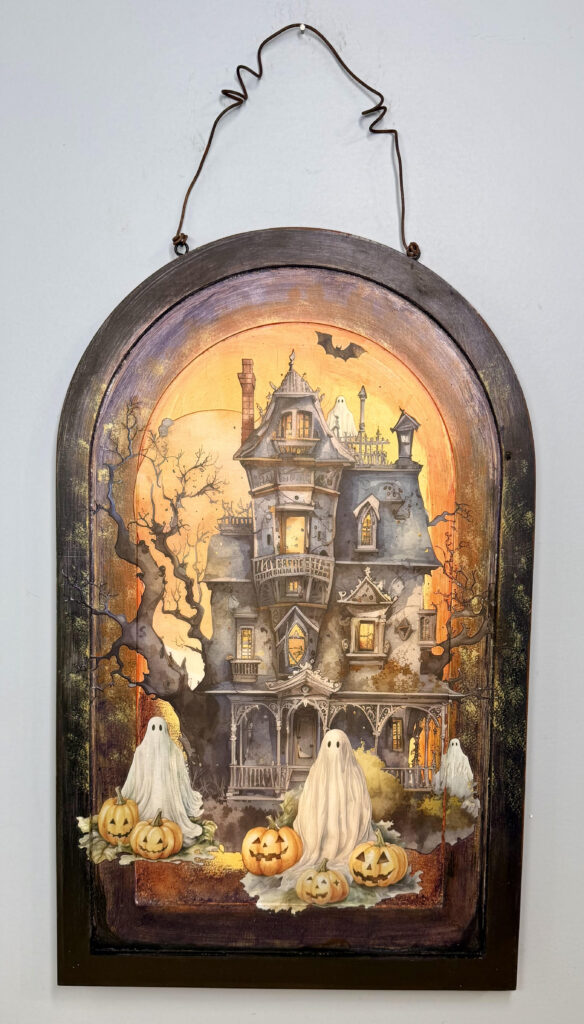
For this project, I started with a large wooden arch from Michaels and applied a white water-based stain as my base. From there, I blended Wild Honey, Fiesta Orange, Violet, and Black water-based stains to create a glowing sunset sky. At first, the colors looked a little wild together—but I always say to trust the process! Once everything begins blending, the background really starts to come alive.
One of my favorite parts of this project was creating depth with color. By layering the oranges in the center and gradually darkening the outer edges with purple and black, the finished background looks like light is shining behind the haunted house. Little touches like dabbing the sponge instead of wiping it create extra texture that gives the finished piece even more character.
After the stain dried completely, I applied the haunted house transfer. Since the design wrapped around the curved arch, I simply made small cuts in the carrier sheet between sections so I could work one area at a time. That little trick makes applying larger transfers to curved surfaces much easier and helps everything lay down smoothly.
If you want to personalize the project even more, you could add the coordinating spider web stencil in the corners, distress the edges a little more, or even add a few dimensional embellishments. That’s one of the things I love most about crafting—every project can become your own.
I hope this gives you a little inspiration to start creating for the fall season. Whether you decorate for Halloween or simply enjoy making handmade décor, don’t be afraid to experiment with color. Sometimes the projects that look the messiest in the beginning end up becoming your favorites!
And because it’s a two-sided sign, here’s the second half of this project!
DIY Whimsical Ghost Halloween Arch
One of my favorite things to create is reversible décor, so after finishing the haunted house side of this arch, it was time to bring the other side to life with an adorable little ghost family. I love getting two completely different seasonal looks from one piece, and it definitely makes storing holiday décor much easier!
Supplies Used
- Michaels 18″ x 11¼” Wooden Arch
- Minwax Water-Based Stain – Weathered Oak
- Minwax Water-Based Stain – Vintage Blue
- DecoArt Oyster Pearl Metallic Paint
- DecoArt Traditional Burnt Sienna
- Essential Stencil Wildflower Ghost Transfer
- Essential Stencil Halloween Transfer Bundle
- Essential Stencil Vintage Bird Transfer (tree branch)
- Harbor Freight stain sponges
- Chip brush
- Sanding sponge
- Burnishing tool
- Heat tool
- Paper towels
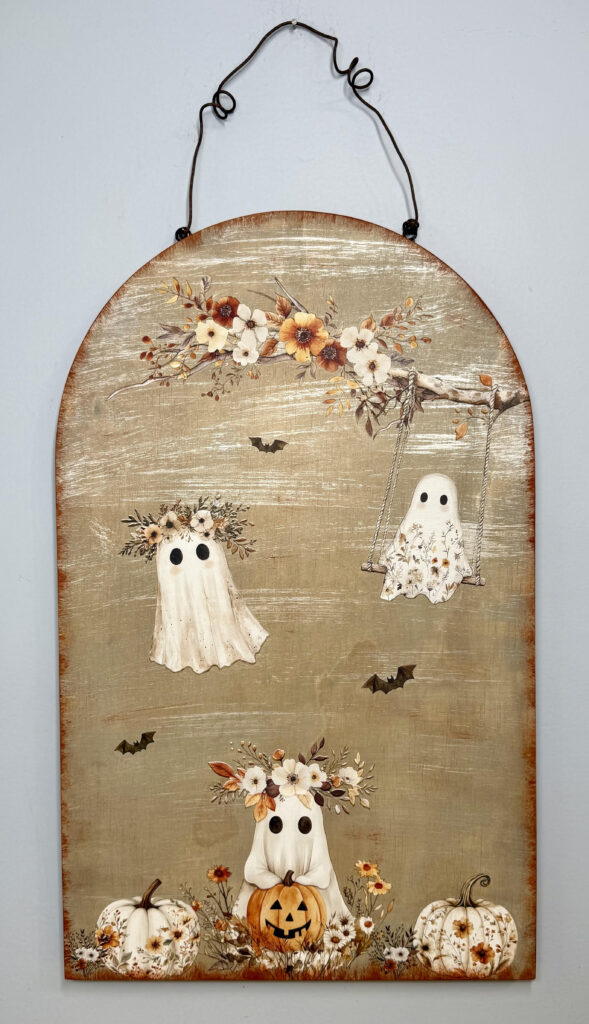
To begin, I created a soft, ghostly background using Weathered Oak and Vintage Blue water-based stains. I wasn’t looking for full coverage—I wanted something light and dreamy that would let the transfers become the star of the project. After the stain dried, I dry-brushed a little Oyster Pearl metallic paint across the surface. It adds just enough shimmer to make the background glow when the light hits it.
The fun really started when I began building the scene. Instead of using only one transfer set, I borrowed a tree branch from a vintage bird transfer and combined it with the Wildflower Ghost collection. After trimming away a few leaves, it became the perfect branch for my little ghost to swing from. That’s one of my favorite creative tips—don’t be afraid to mix transfers from different collections. Sometimes the best designs happen when you think outside the package.
From there, I added the rest of the ghost family, little flowers, pumpkins, and a few playful bats to create a scene that tells a story. I love imagining these little ghosts simply enjoying fall together instead of trying to be spooky. They’re playful, friendly, and full of personality, which fits my decorating style much better.
To finish everything off, I lightly framed the entire piece with Traditional Burnt Sienna paint. That little bit of color around the edges helped pull all the elements together and made the metallic shimmer stand out even more. Sometimes the smallest finishing touches make the biggest difference.
This project reminded me that creativity doesn’t have to follow the rules. Mix collections, layer transfers, build little scenes, and let each project tell its own story. That’s what makes handmade décor so special.
Here are the two sides, and if you are interested in this piece, it’s available in my shop HERE.