DIY Stenciled Fall Welcome Pillow
I was recently inspired by a trip to a roadside farm market filled with beautiful produce and peaches, and it put me in the mood to start creating for fall. So for this project, I’m trying something a little different and using a stencil that was actually designed for a door hanger to create a colorful fall pillow instead.
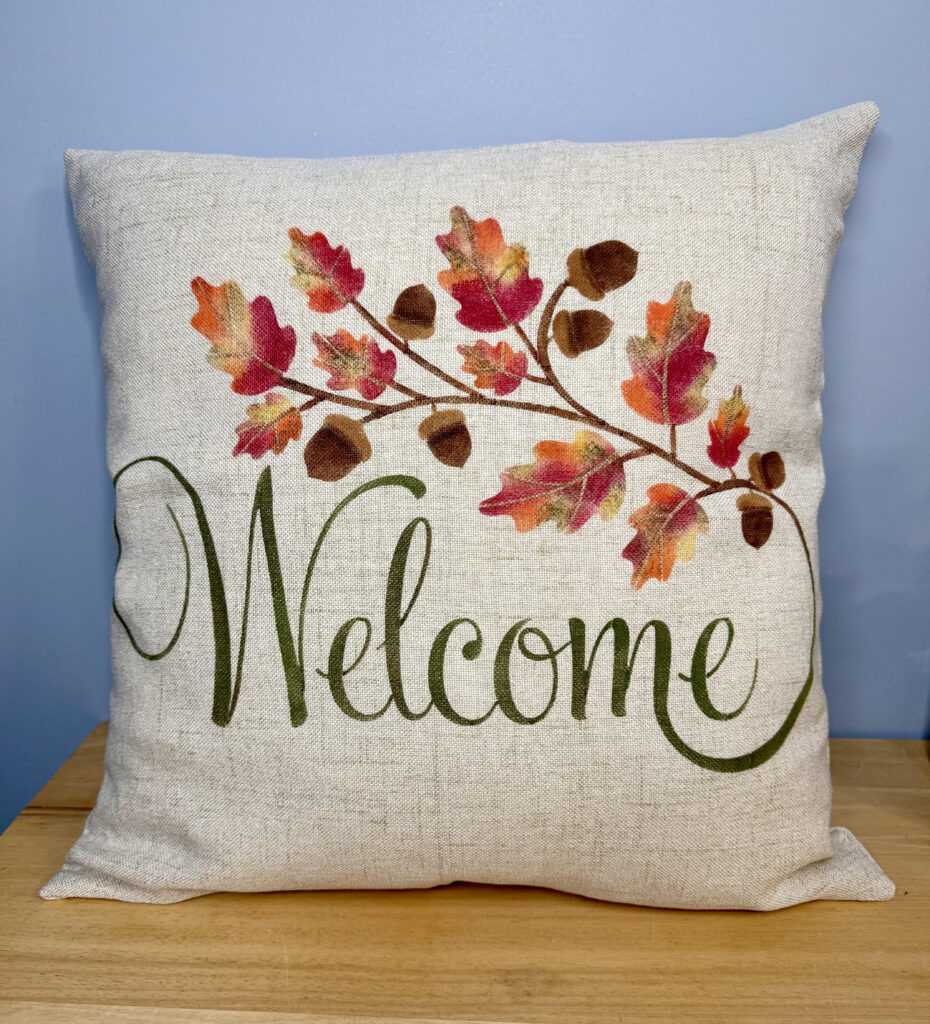
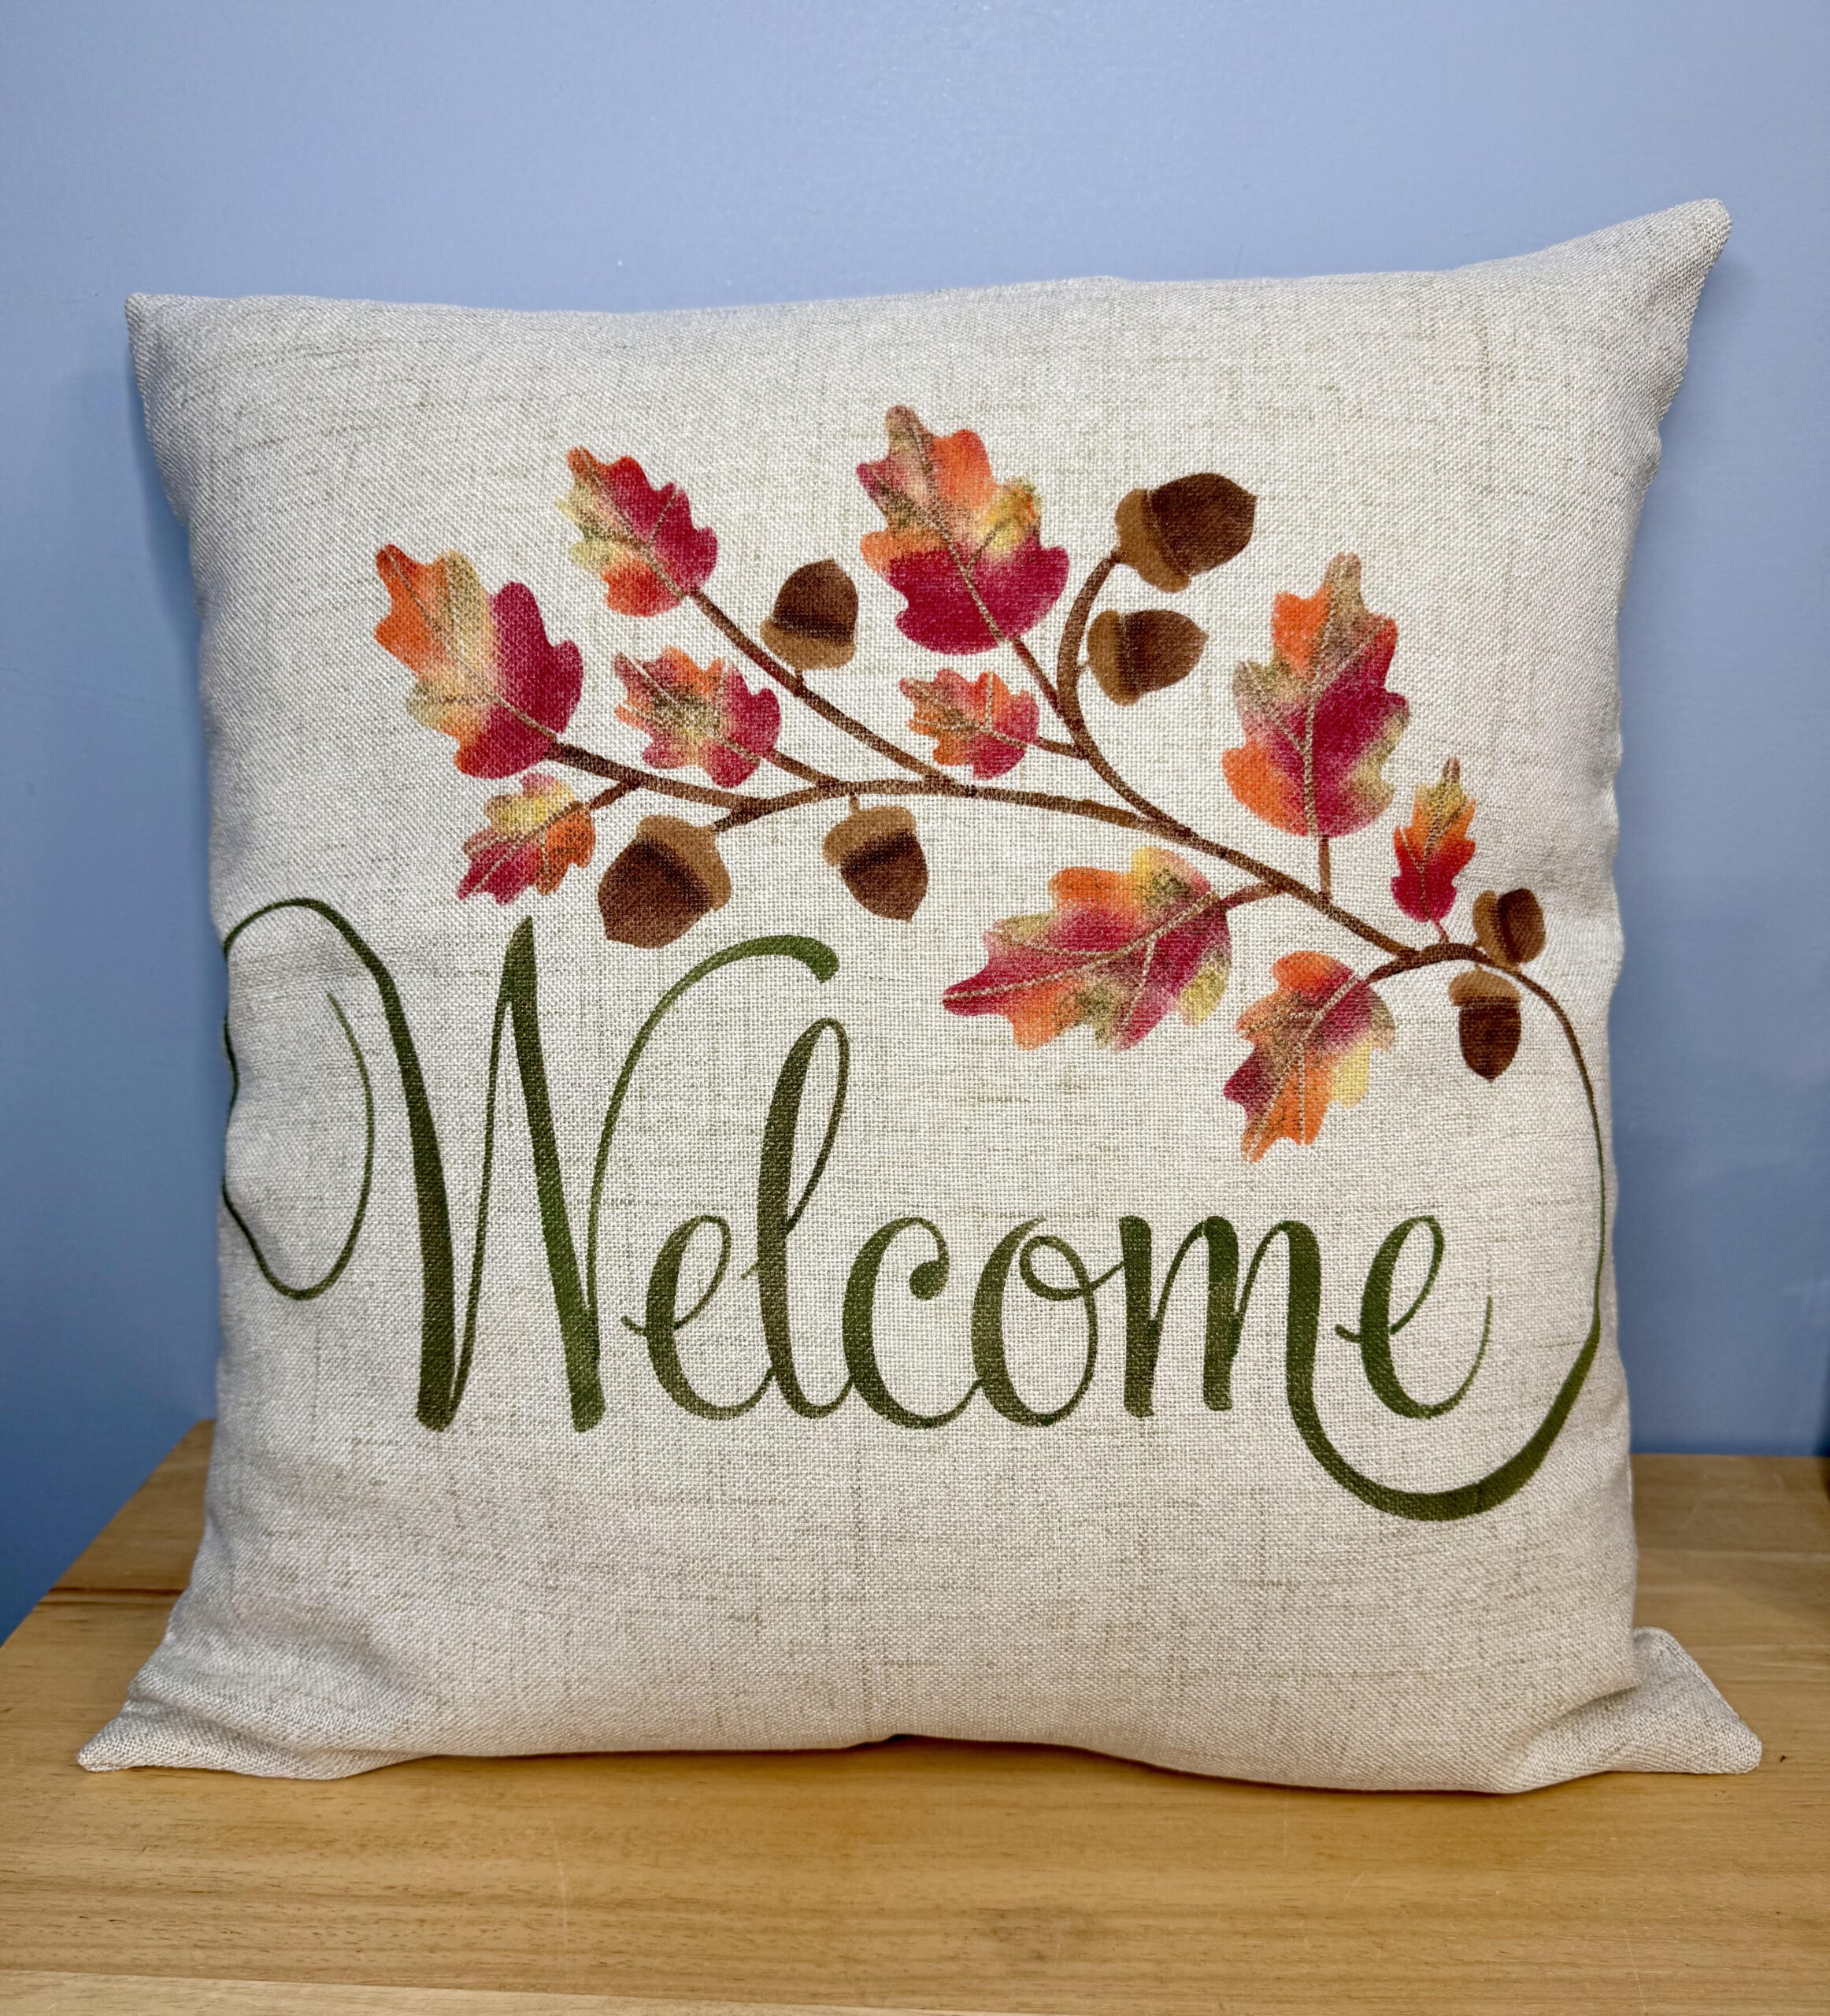
I’m using an 18×18 linen-style pillow cover along with the Oak & Acorn Welcome Door Hanger stencil. I decided not to use the large acorns included with the stencil and instead focused on the “Welcome” design surrounded by oak leaves, branches, and smaller acorns. I think this will be so pretty sitting on a porch bench or porch swing this fall.
Supplies Used
- 18″ x 18″ Linen-Style Pillow Cover
- Essential Stencil Oak & Acorn Welcome Door Hanger Stencil
- DecoArt SoSoft Cadmium Orange Hue
- DecoArt SoSoft Cadmium Yellow Hue
- DecoArt SoSoft Santa Red
- DecoArt SoSoft Brown
- DecoArt SoSoft Avocado Green
- Black Acrylic Paint
- White Acrylic Paint, optional
- Essential Stencil Dome Brushes
- Painter’s Tape
- Cardboard or Stencil Backer Board
- Paper Towels/Wipes
- Iron
- Protective Cloth or Tea Towel
Stenciling on Fabric
Painting on fabric is a little different than painting on wood. I slipped a piece of sturdy stencil backer board inside the pillow cover before I started. This gives me a firm surface to work against and helps protect the other side of the fabric.
When I’m working on fabric, I usually pounce my paint instead of swirling my brush. A swirling motion can sometimes move or pull at the fabric fibers, especially in larger open areas. I hold the fabric down close to where I’m working and lightly pounce the paint through the stencil instead.
It’s also a good idea to practice with your stencil brush on a scrap of fabric first. These dome brushes hold quite a bit of paint, and you want to get a feel for how much you need before starting on your actual project.
Mixing Colors for the Acorns
I wanted the acorns to have a little more dimension instead of using one flat shade of brown. I mixed brown with a little yellow to create the lighter acorn caps, then added a tiny amount of black to create darker areas.
And when I say a tiny amount of black, I mean tiny! Black can take over a color very quickly, so I always start with less than I think I’ll need.
Once the basic colors were in place, I went back and added little bits of lighter and darker brown to the branches and acorns. Some are darker than others, and that’s perfectly fine. Those differences give the design character.
Creating Colorful Fall Leaves
For the leaves, I pulled out yellow, orange, red, and avocado green. Instead of deciding exactly which leaf would be which color, I simply started with yellow and randomly pounced it onto the design.
From there, I moved into orange and then red, using the same brush as I went from light to dark. Finally, I added touches of green throughout the leaves.
I love how all of those colors mingle together. Real fall leaves aren’t perfectly uniform, so I don’t think our painted ones need to be either! The mix of colors gives them that pretty changing-leaves look and makes this pillow perfect for a porch setting.
I also used green for the word Welcome, allowing some of the darker and lighter tones from my brush to naturally show through. That variation gave the lettering more dimension instead of making it one solid shade.
Think Beyond the Original Stencil
One of my favorite things about this project is that the stencil wasn’t originally intended for a pillow at all. It was designed as a door hanger, but that doesn’t mean that’s the only way you can use it.
You could take this same design and make a fall garden flag, kitchen towel, framed fabric sign, or another type of porch décor. You could even leave out the branches and simply stencil “Welcome” with a few individual leaves in the corners. There are so many ways to mix and match the elements.
After the paint is completely finished, I’ll heat set the design. I usually place another piece of cloth over the painted area and use my iron, making sure to use the appropriate heat setting for the fabric. You can also heat set fabric paint in the dryer depending on the paint and fabric you’re using.
I love how colorful this one turned out. The acorns, changing leaves, and simple Welcome message have all those warm fall colors without feeling too fussy. Add a pillow insert, toss it on a porch swing or bench, and you’ve got an easy handmade touch for fall.