
DIY Rustic American Flag Wood Sign
Some projects are just… special. Not because they’re complicated. Not because they’re perfect. But because they carry meaning. This rustic American flag sign is one of those pieces—simple, imperfect in the best way, and full of heart.
What We’re Making
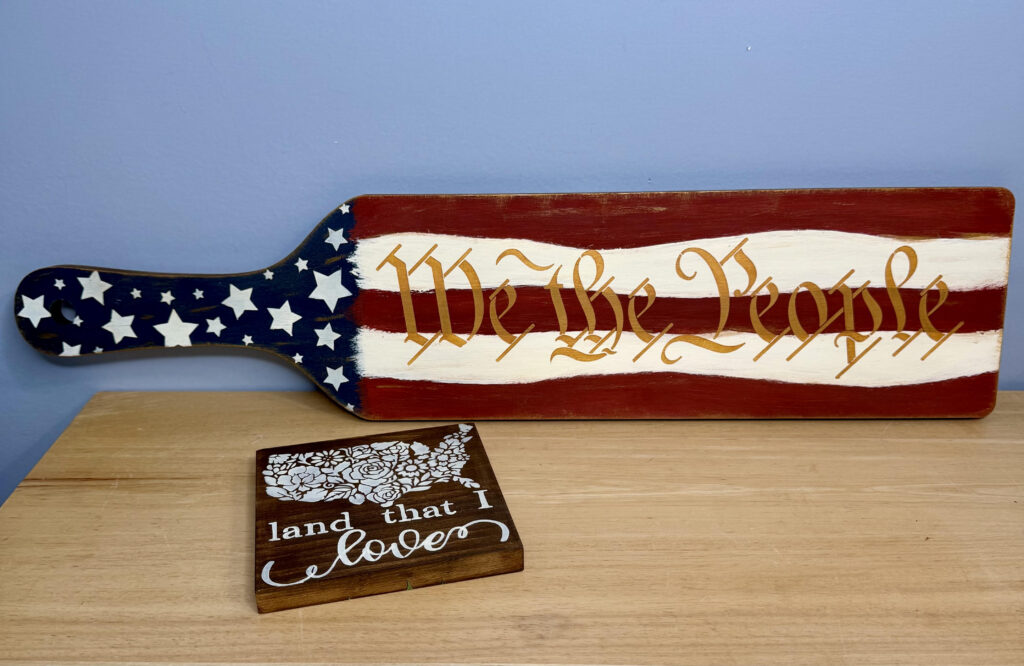
This project includes two coordinating pieces:
- A tall rustic wooden flag sign with We the People
- A simple “Land That I Love” mini sign
Supplies Needed:
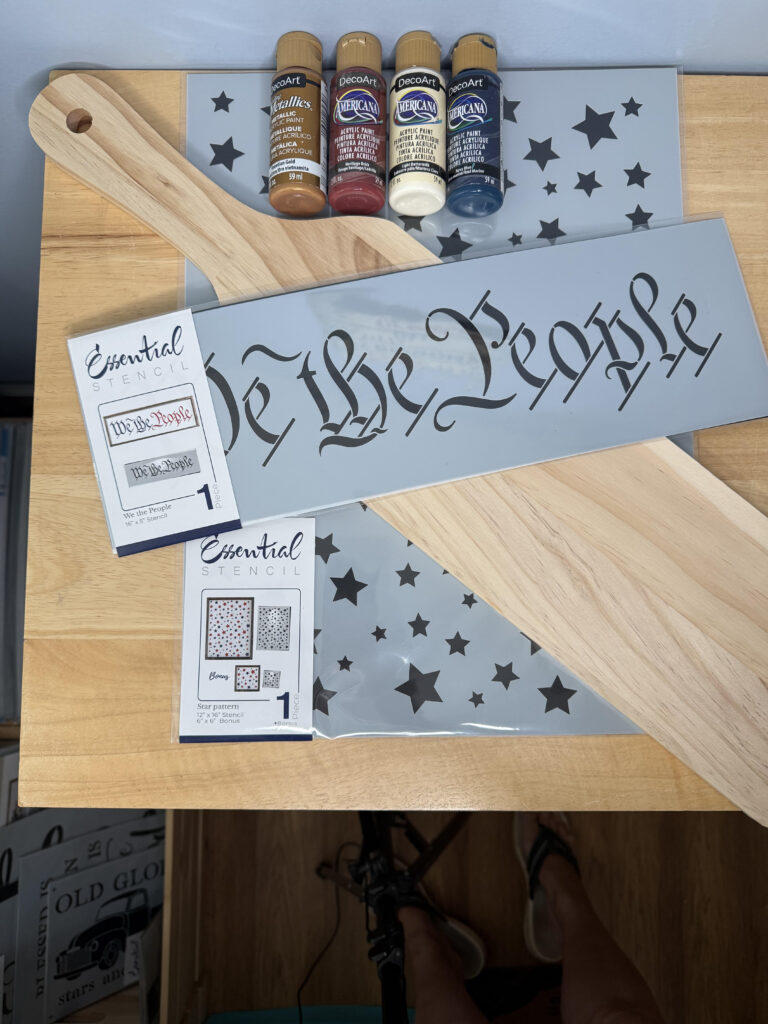
- Wooden paddle board (Michaels – approx. 23¾” x 5½”)
- 5×5 wood block (for mini coordinating sign)
- Minwax Dark Walnut stain
- Stain sponge
- Gloves
Paint: - Navy Blue (flag field)
- Heritage Brick (red stripes)
- Light Buttermilk (cream stripes + stars)
- Venetian Gold (aging + shimmer)
- Marigold (base under metallic lettering)
Brushes and Tools: - Chip brush (for base painting + stripes)
- Flat stencil brushes (1/2″, 3/4″)
- Dome stencil brush (for stars + detail work)
- Small detail brush (for touch-ups)
- Coffee filters (for offloading paint)
- Paper towels / wipes
- Sanding block (for distressing + softening)
From Essential Stencil: https://bit.ly/3OalFI3
- “We the People” stencil
- Starfield / star pattern stencil
- “Land That I Love” stencil (for mini block)
Create the Blue Field
Start by painting the left side of your board with navy blue. Don’t worry about perfection. Let your line be slightly uneven. Allow the wood to show through in places and build color slowly. This is meant to feel like a waving, aged flag—not a perfect one.
Paint the Stripes
Using a chip brush, freehand your stripes:
- 3 red stripes
- 2 light (buttermilk) stripes
Let them be slightly uneven, a little wavy, and imperfect. That’s where the charm comes from. If colors blend slightly? That’s okay. If lines aren’t crisp? Even better.
Add the Stars
Using a star stencil, lightly add stars to the blue section. Tips: Use very little paint, build in layers, and don’t aim for full coverage. Some stars darker, some lighter—it creates depth and texture.
Add Subtle Metallic Detail
Using Venetian gold, lightly brush across the surface. You’re not covering anything—just adding shimmer, movement, and dimension. It should catch the light… not overpower the design.
Stencil “We the People”
This is the focal point. To make metallic gold stand out, first stencil a base layer (marigold tone), then go over it with gold. This layering trick helps the metallic paint pop beautifully. Finish it off with a simple hand-painted border around the piece.
Light Distressing
A quick sanding pass will soften the colors, blend everything together and give it that aged, vintage feel. This step really brings the whole piece to life.
Bonus: Mini “Land That I Love” Sign
Using a small wood block, stencil a simple design in one neutral color. This piece pairs perfectly with the main sign and adds a softer, complementary touch.
The Finished Look